Erosion Bundles are something my sister Carolyn taught me to do. Erosion bundles are papers and fabrics layered up together with interesting things placed in between the layers to create colours, textures and interesting reactions. The bundles when made are securely tied with string and then placed outside, in all weathers, for about 3 months (give or take a bit)! What you end up with is totally unique, beautifully stained, textured, patterned papers and fabrics which can be then used in new art work. Although Carolyn taught me how to do this, I have developed my own style of doing an erosion bundle.
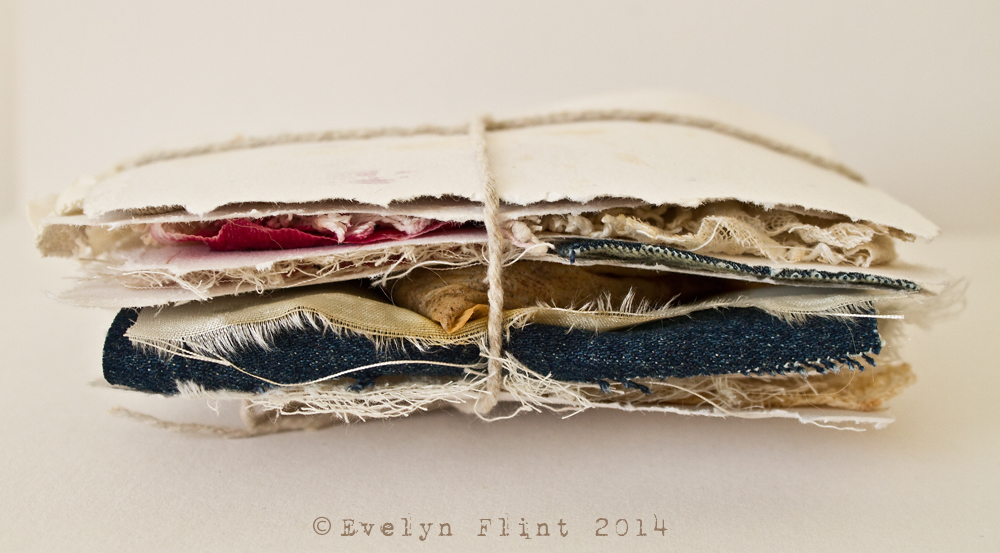
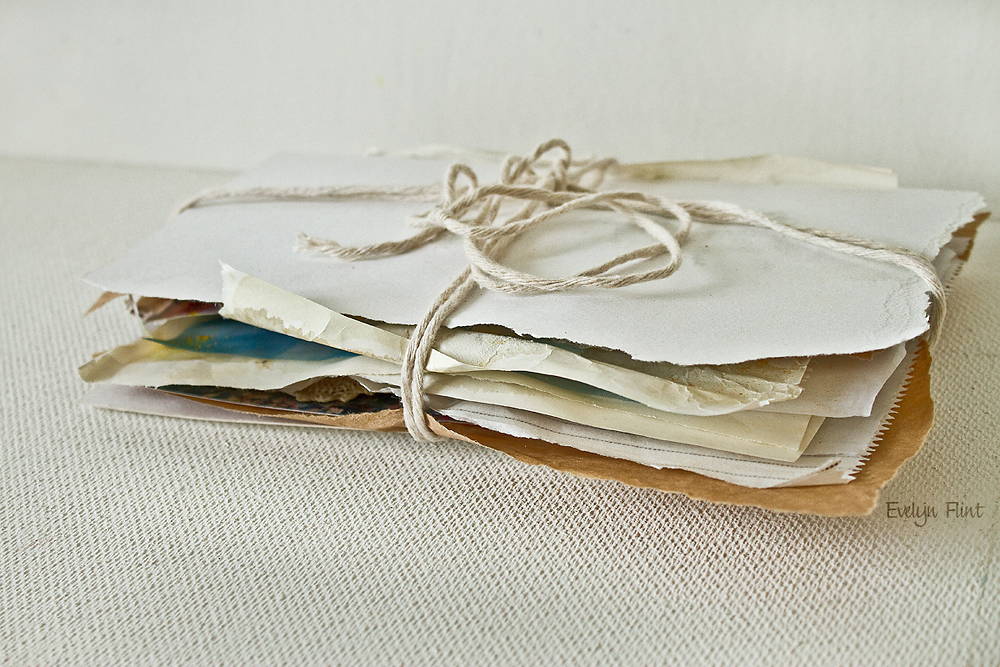
Above are two of my earliest erosion bundles ready to go into the garden. I place these anywhere in the garden where they will be exposed to all the elements our diverse British weather can throw at them – in a flower bed, hung from a tree/fence/washing line etc. Next is probably the hardest part of an erosion bundle I think – waiting. Once in the garden lots of patience is needed to just let the elements and nature work their “magic” on the erosion bundle; no peeking inside to see what’s happening! Or opening them too early! I just have to wait till they look about ready to fall apart. Then open them.
Here are just a few examples of the beautiful results from my erosion bundles. Click/tap on an image to view them better in the carousel:
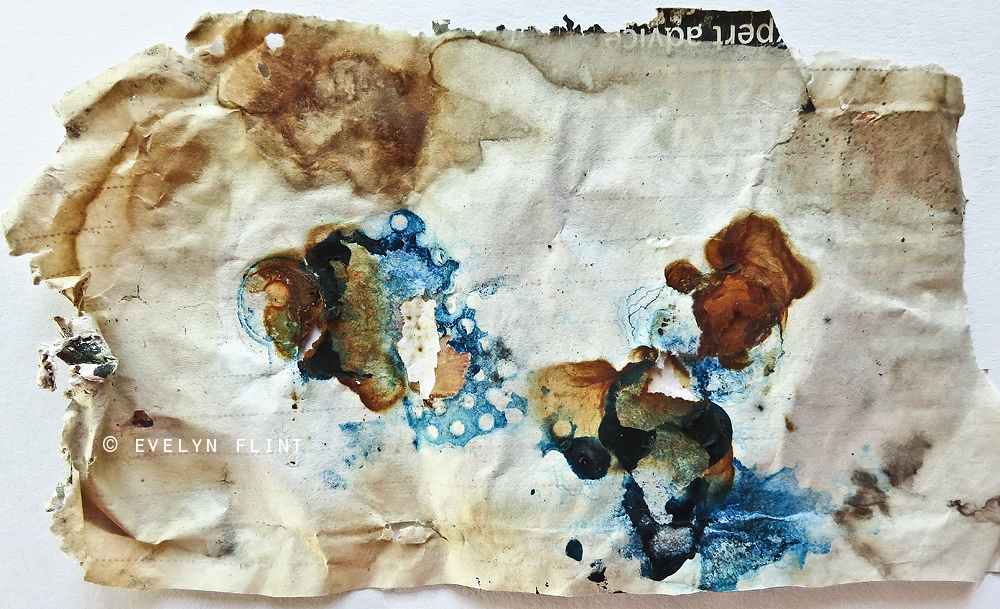
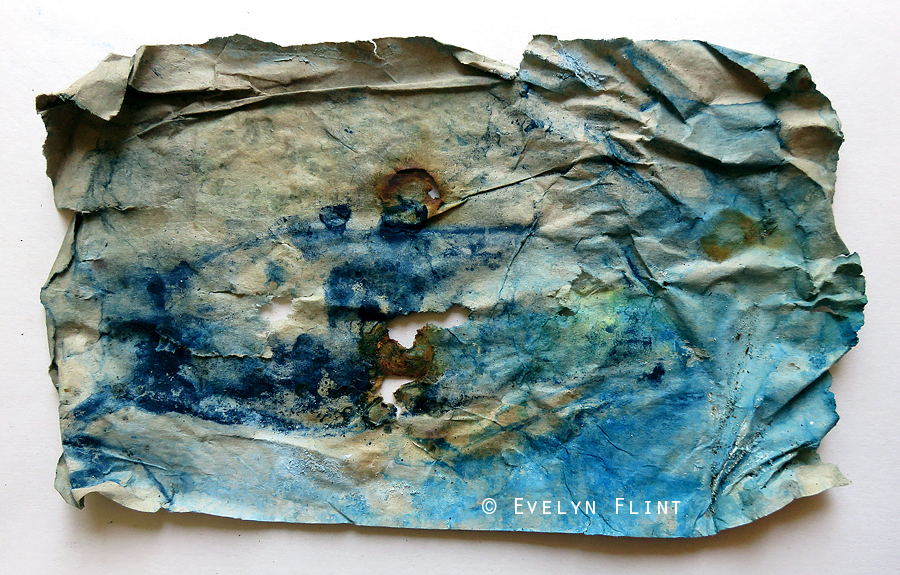

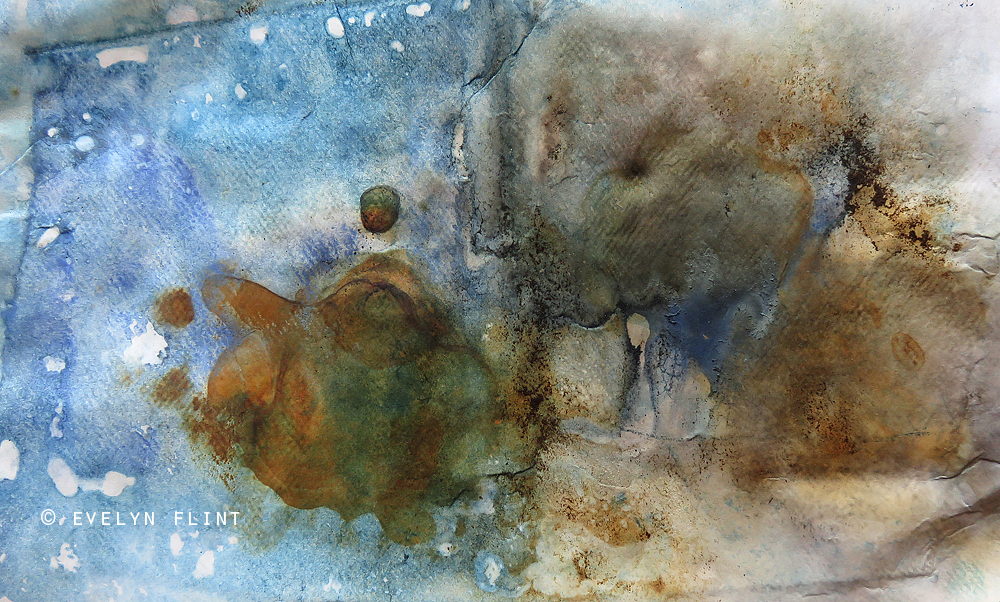
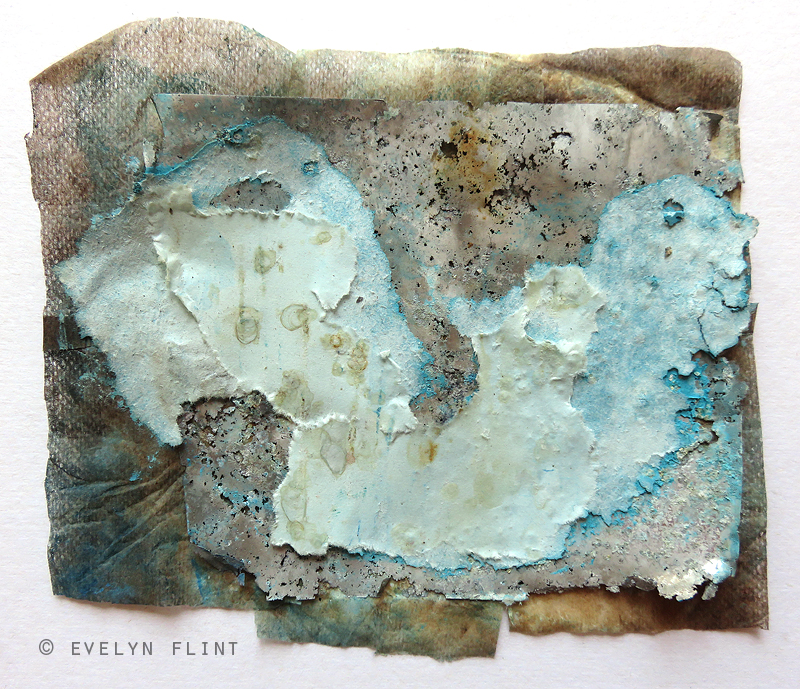
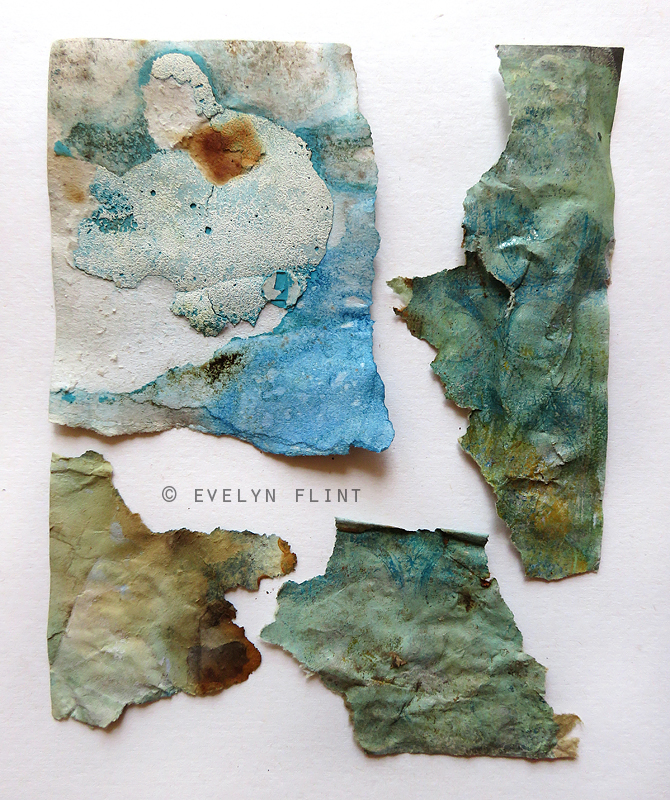
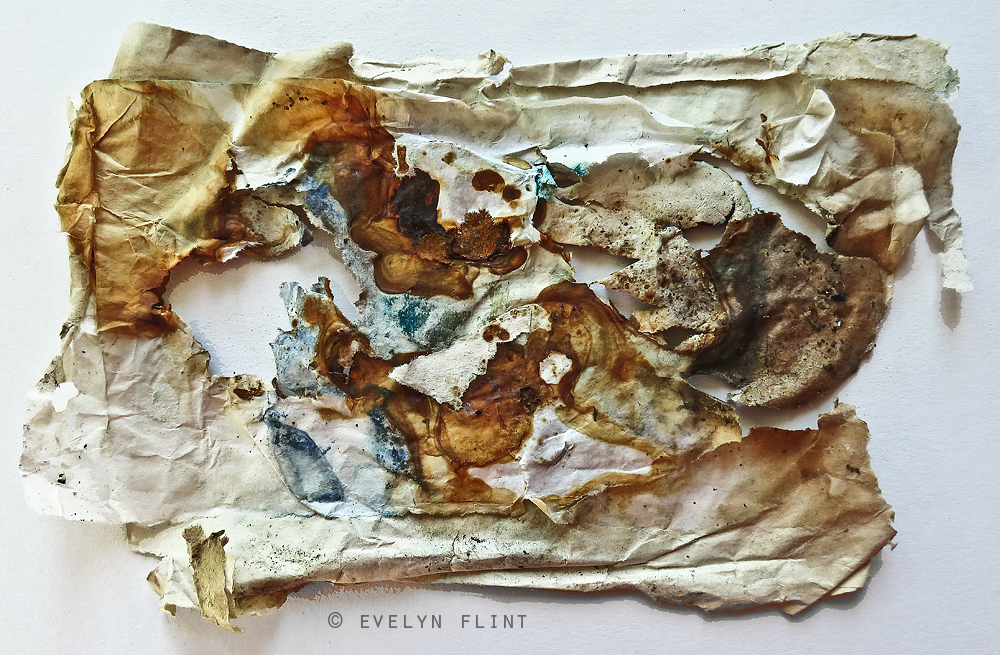
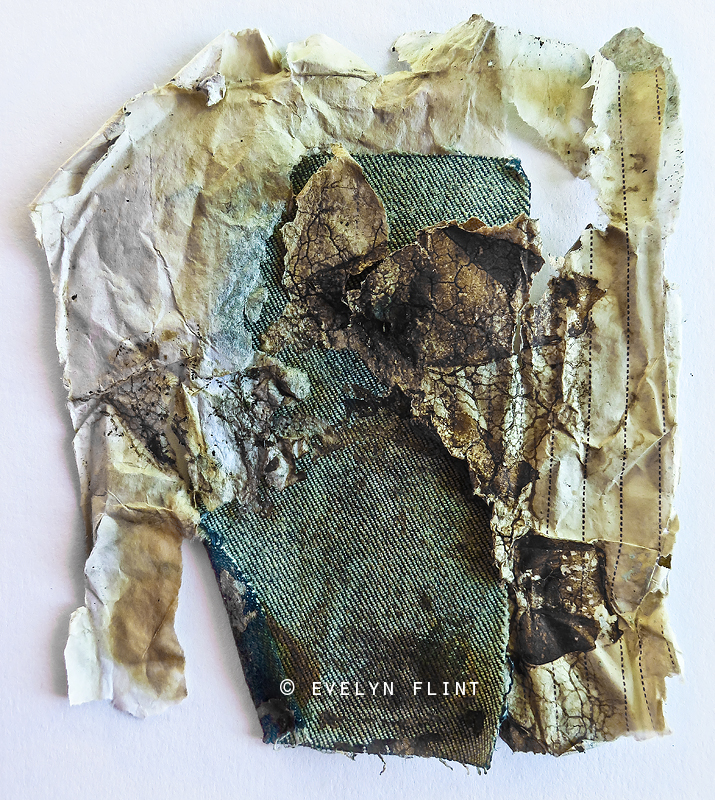
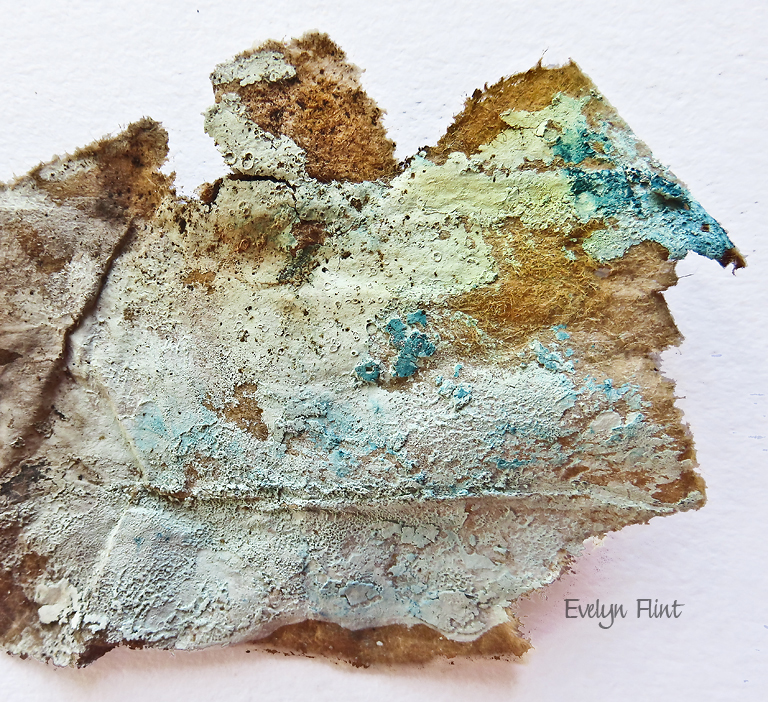
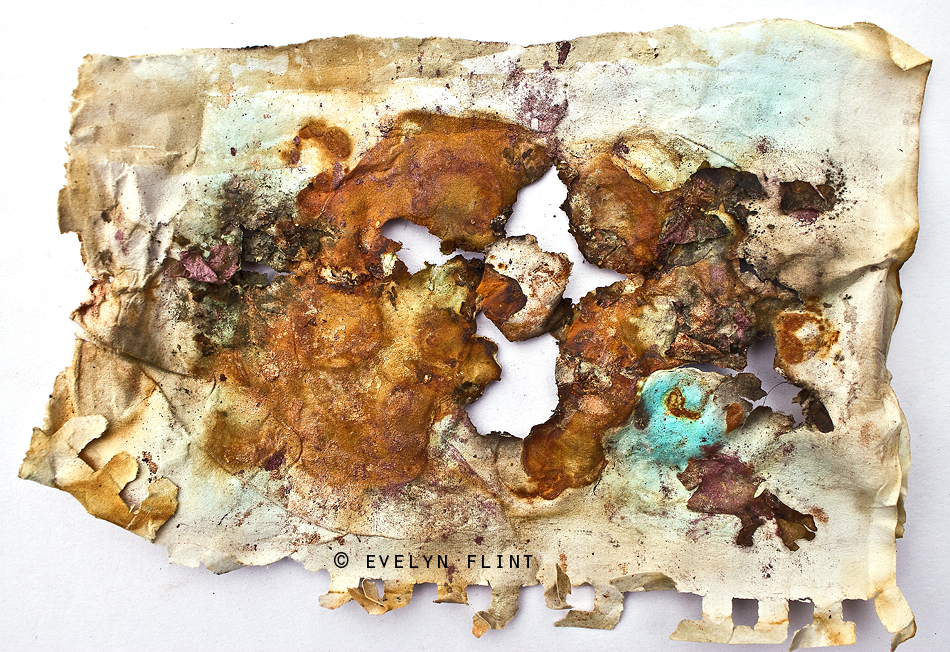
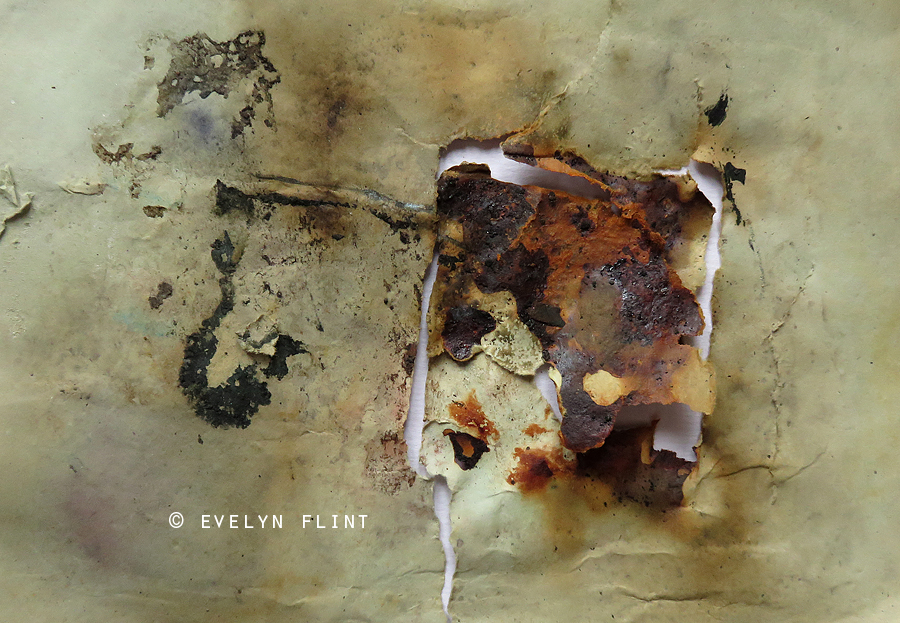

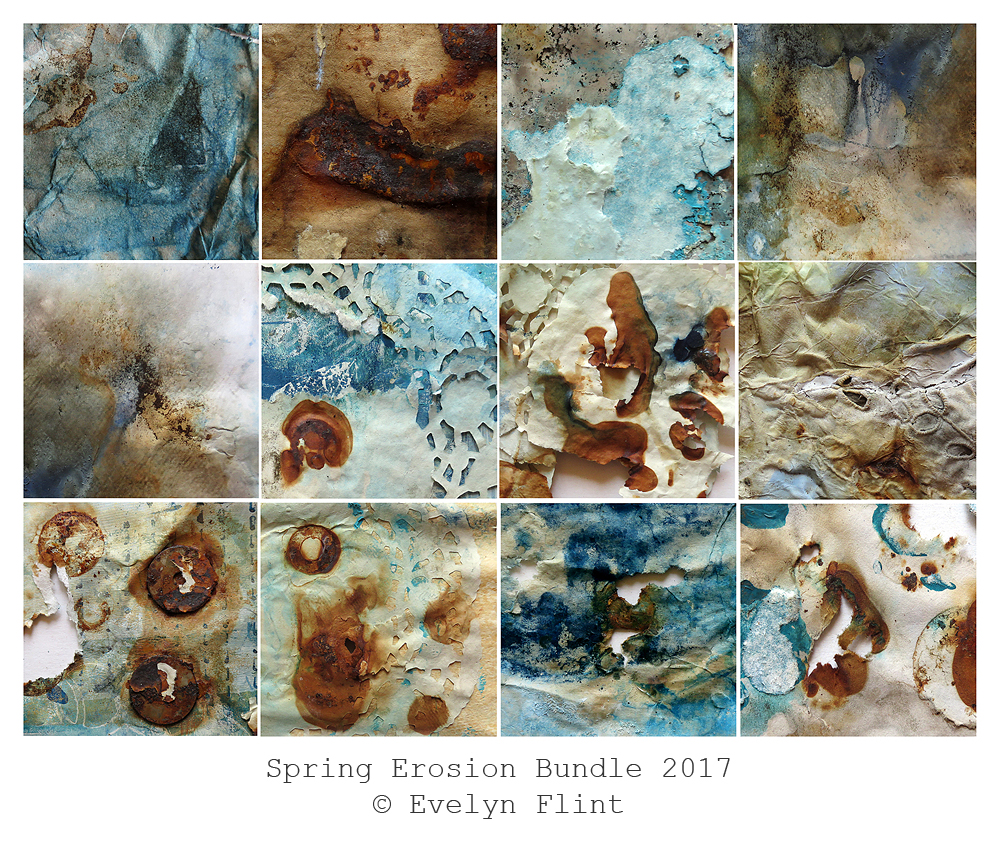
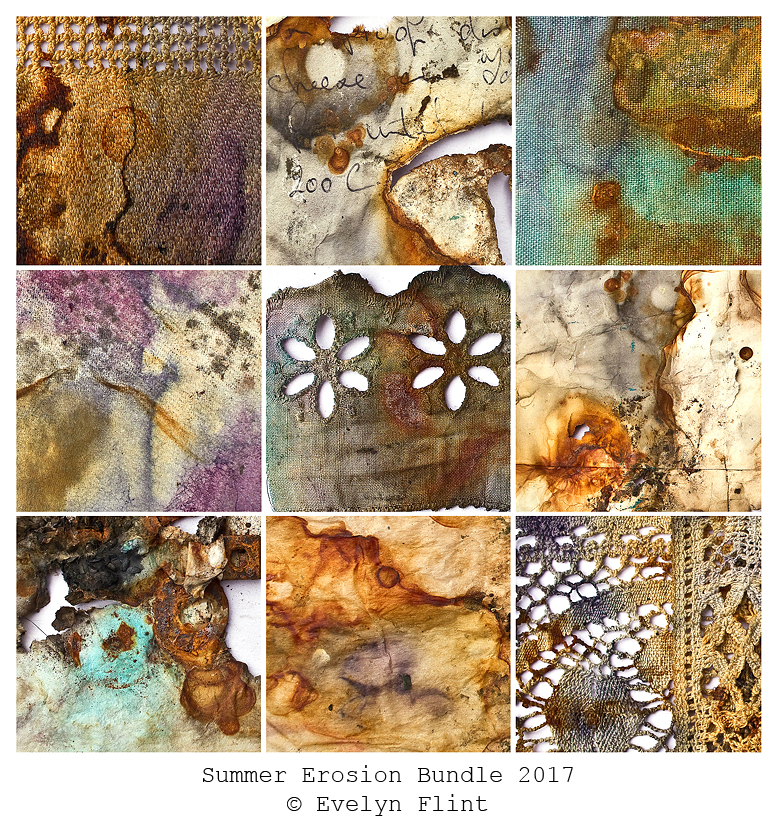
What I love about erosion bundle material is that every single piece is totally unique and one of a kind. And until you open the the bundle you never know what you’re going to find inside. Results can be varied – some pieces are stunningly beautiful, others might be a bit uninteresting. But the boring bits can be put back into another erosion bundle.
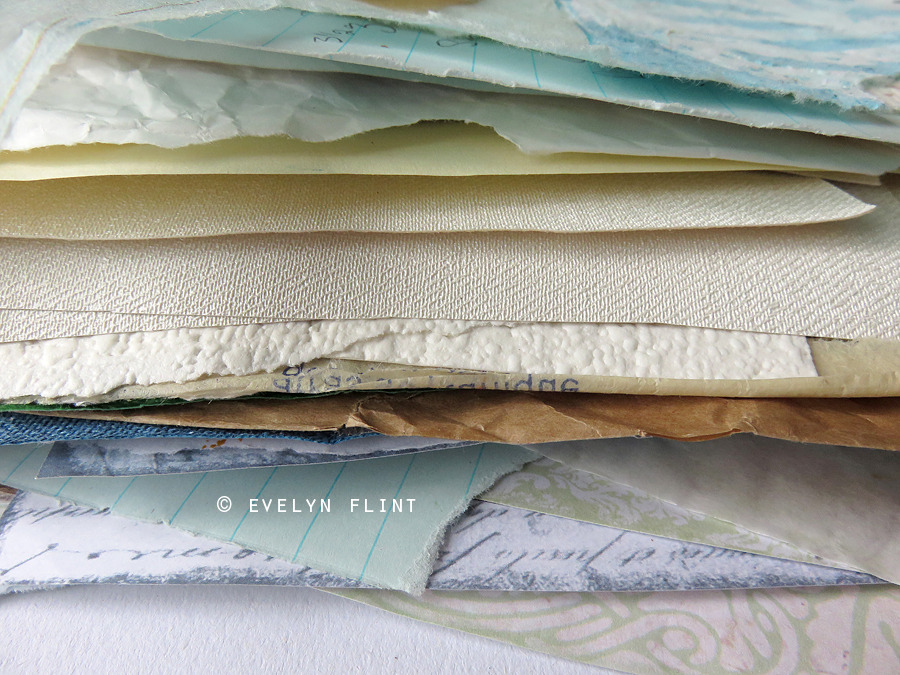
I use different types, sizes, colours and thickness of paper. It’s always good to experiment.
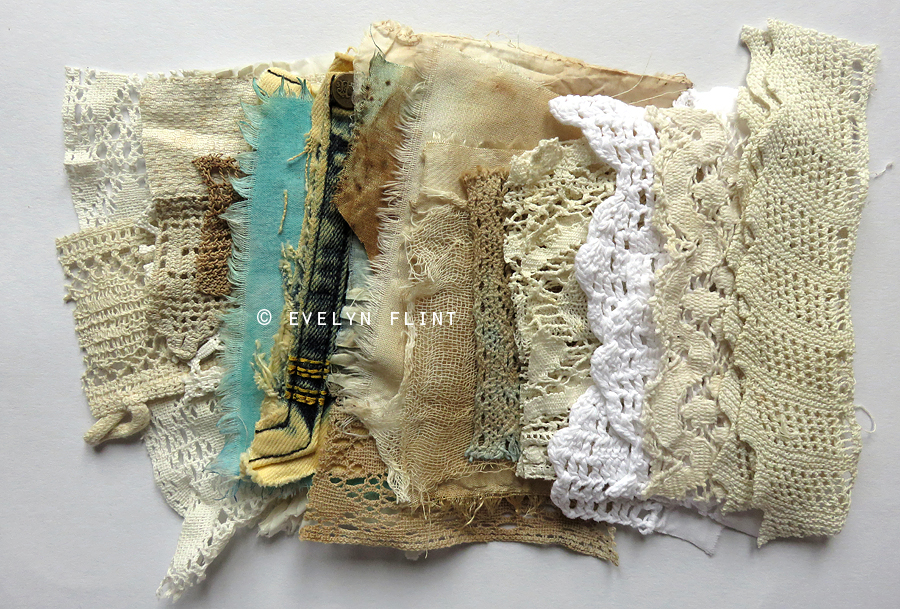
I love using vintage, linen, cotton, silk, lacy, fabrics in my erosion bundles. But it’s always worth experimenting. Fabrics that colours will bleed out of may give interesting results.
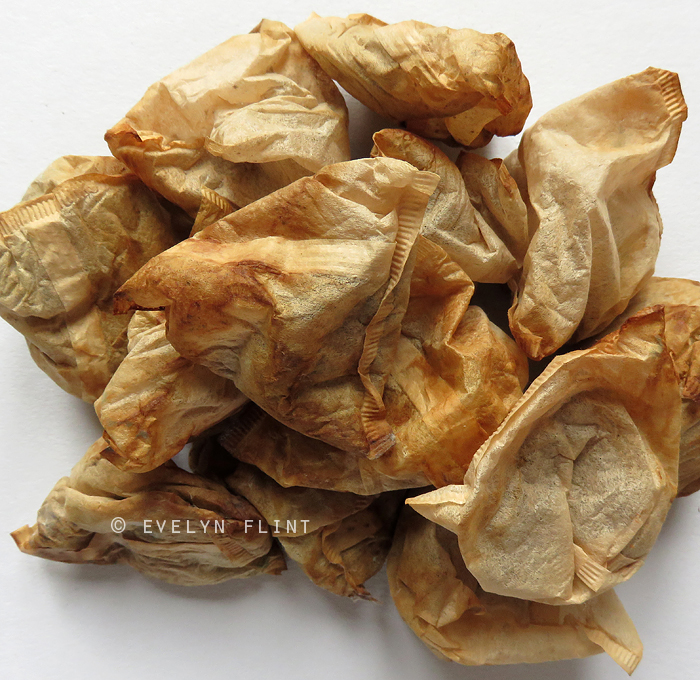
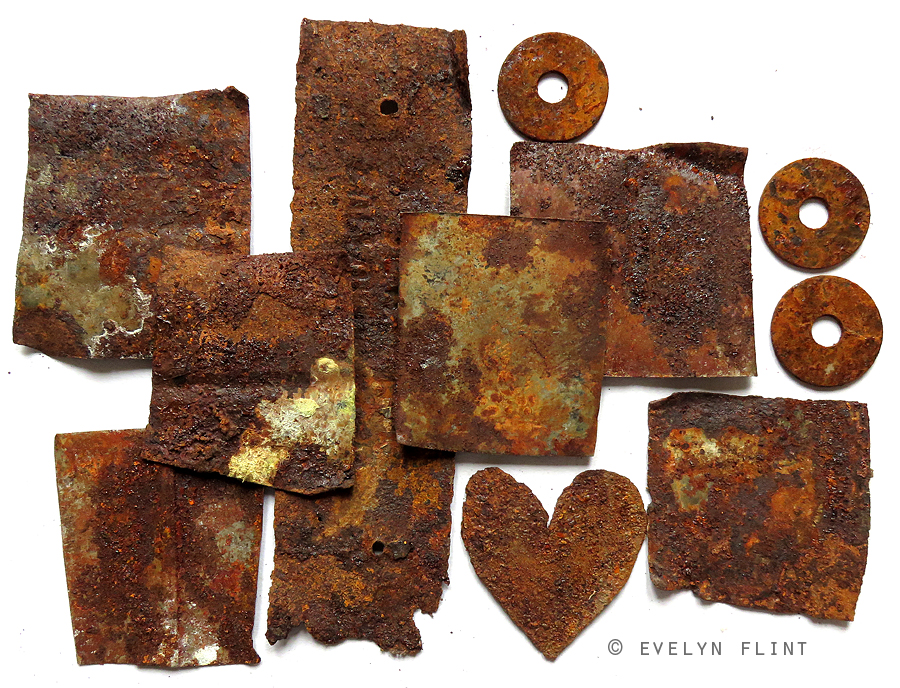
What do I put between the layers of paper and fabric? I will put anything that will create colour, texture or cause interesting reactions. Examples might be teabags, rusty items, household cleaning materials, food items (blueberries, blackberries, turmeric), squirts of paint, mica powder… the list could go on. They key is to use my imagination and experiment. Not everything will give amazing results, so the lessons I learn from one bundle will help me when I create the next one.
Just a quick note about opening my erosion bundles. I usually clear a worktop in my kitchen (away from food preparation areas!); carefully untie the bundle – string can be reused; then carefully separate the papers/fabrics and lay them flat. Some of the papers can be damp, very delicate and need handling with great care. I lay everything out flat and leave them to dry. This may take up to 48 hours. When dry, I then brush off any loose bits and take stock of what lovely things have been created in my garden. Just another small word of caution about opening erosion bundles – depending on where they’ve been in the garden, there may be one or two creepy crawlies inside… !! I usually use the “glass and cardboard trick” for putting them back outside…
The next time I create an erosion bundle, I am going to start recording what I put into my bundles and my results. So if I want to try to recreate certain effects, I can refer to my notes to see what I used. I have used my erosion bundle papers and fabric many times in my mixed media art explorations. They always add a little something special to my art.
